
What is the Market Activity Report?
The Market Activity Report showcases what is happening in the local real estate market. You can include new listings, closed sales, price changes, expired listings, open houses, and more. Market Snapshots display data for estimated home values, sale price, and list price, in the form of stats and map layers.
A Market Activity Report can be generated for almost any area, including; neighborhoods, zip codes, cities, school attendance zones, and even custom areas you create and save on the map.
Step-by-Step Instructions
Click on the tabs below to see step-by-step instructions.
Step 1
Start a Market Activity Search
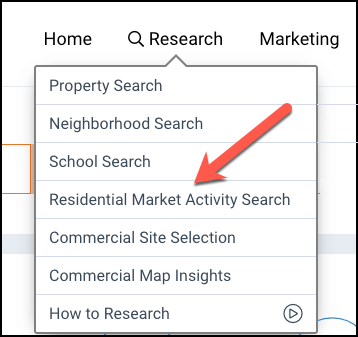
Click the Research tab from any page of the website, then select Residential Market Activity Search from the menu.
Step 2
Filter and Search
Enter an area in the search bar, then make your filter selections from the visible drop-down menus or click the Filter button (funnel icon) to see additional filters. Click the search button when you are finished applying filters.

Create Report
Click the CREATE REPORT link

Step 3
Select Report
Select Market Activity (if not already selected), then click the plus sign to the far right.

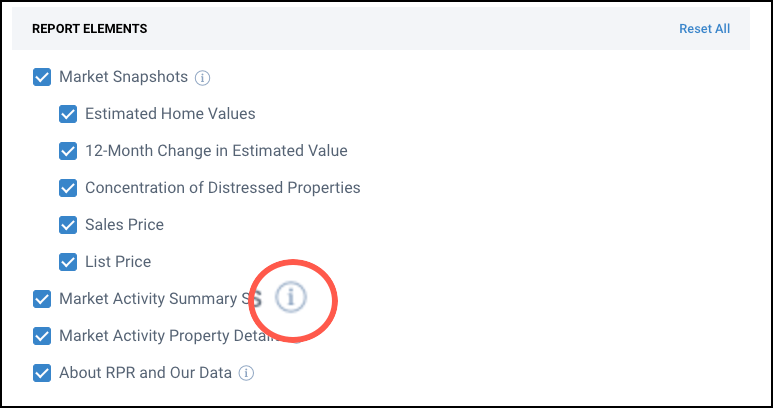
Choose Report Content
Put a checkmark next to the item you would like to include in your report. Take the checkmark out if you want to omit the item. Hover your cursor over each information i to see a description of the item.
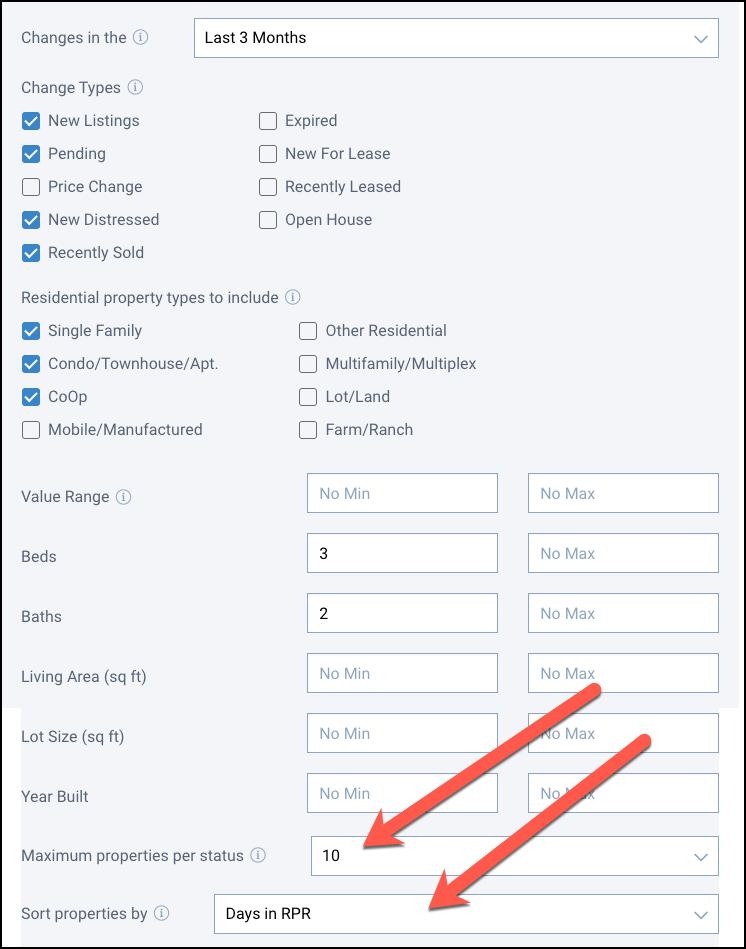
Review Filters and Sort
Step 4
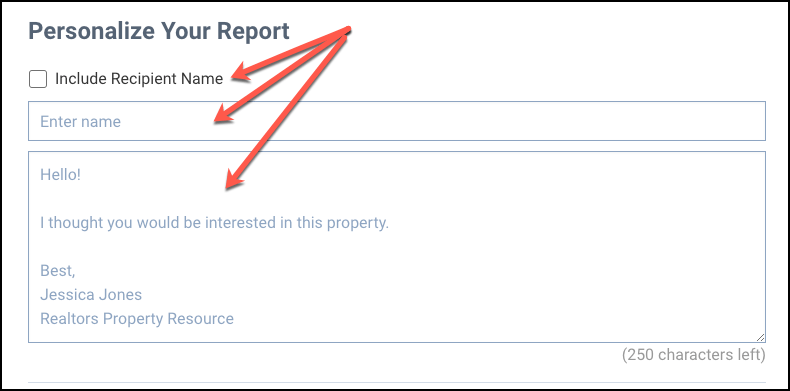
Personalize Report
You can include a short message when emailing a report to your client. Skip this step if you do not want to personalize your report in this way.
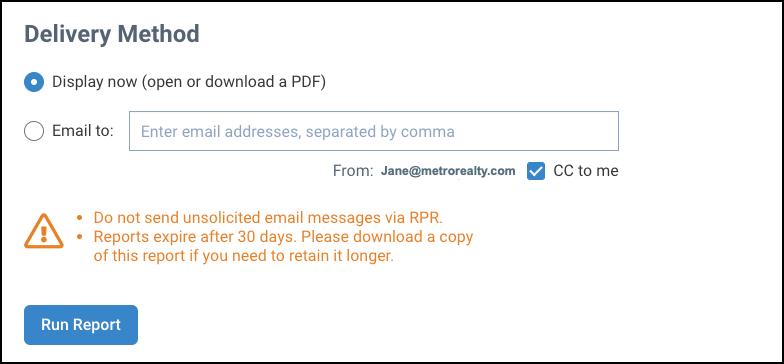
Choose Delivery Method & Run Report
Choose either Display Now or Email to. Display now will open a PDF that can be saved to your computer. Email to will email a PDF to one or multiple email addresses (separate multiple email addresses with a comma). Click CC to me to receive a copy in your email inbox.
Click the Run Report button.
Learn More about RPR Reports
Frequently Asked Questions
Click on the links below
The full Market Activity Report is about 26 pages. You can choose the content (add or subtract items) in your report by clicking the plus sign to the right of the report name. Hover your cursor over the information i (next to each element), to see a description.
The properties showcased in the Market Activity report are a sampling of the area and is not intended to be all-inclusive. To display the maximum number of properties for each property status, select “50” from the Maximum properties per status drop-down (located in the Report page filters).
You can draw a shape on the map, search within the area, and create a Market Activity Report from your search results.
On the Report page, make sure the address or area is showing at the top of the page, then select which report you would like to create. Next, scroll down to the bottom of the page and select Email to. Enter the email address or multiple email addresses (separated by commas) in the field provided, then click the Run Report button.
See who you sent a report to and when they last opened the report on the report generation page. Go to the My Reports section, then select View Report Activity from the Report Options drop-down.
")
Click the Reports tab and select any report title to be taken to the Reports page, locate the report you would like to share in My Reports. Under the report, click the arrow in the menu box, then select Post on Facebook.
Under the report, click the arrow in the menu box, then select Delete Report. Locate the report you would like to delete in My Reports. Under the report, click the arrow in the menu box, then select Delete Report.
Need Help?
If you need additional assistance, contact RPR Member Support at (877) 977-7576 or open a Live Chat from any page of the website.
