How do I create mailing labels or export owner information?
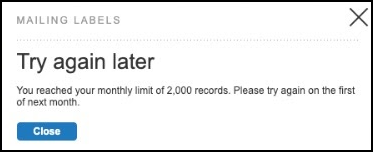
RPR’s prospecting feature allows you to create mailing labels or export owner information to a downloadable CSV file. Each REALTOR® can export up to 2,000 records each month.
Prohibited Areas
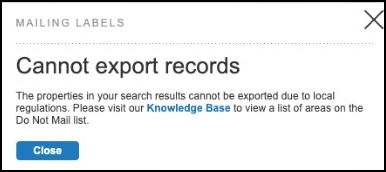
Mailing labels or a CSV export cannot be created for properties in areas where local regulations prohibit the use of public record data for marketing purposes. See a complete list of prohibited areas.
Step-by-Step Instructions
Click on the tabs below to see step-by-step instructions.
Step 1
Search and Apply Filters
Go to your Home page and enter a city/state, zip code, or county/state in the search bar.
Next, choose filters to narrow your search results (click More Filters to open additional filters). Click the search button.

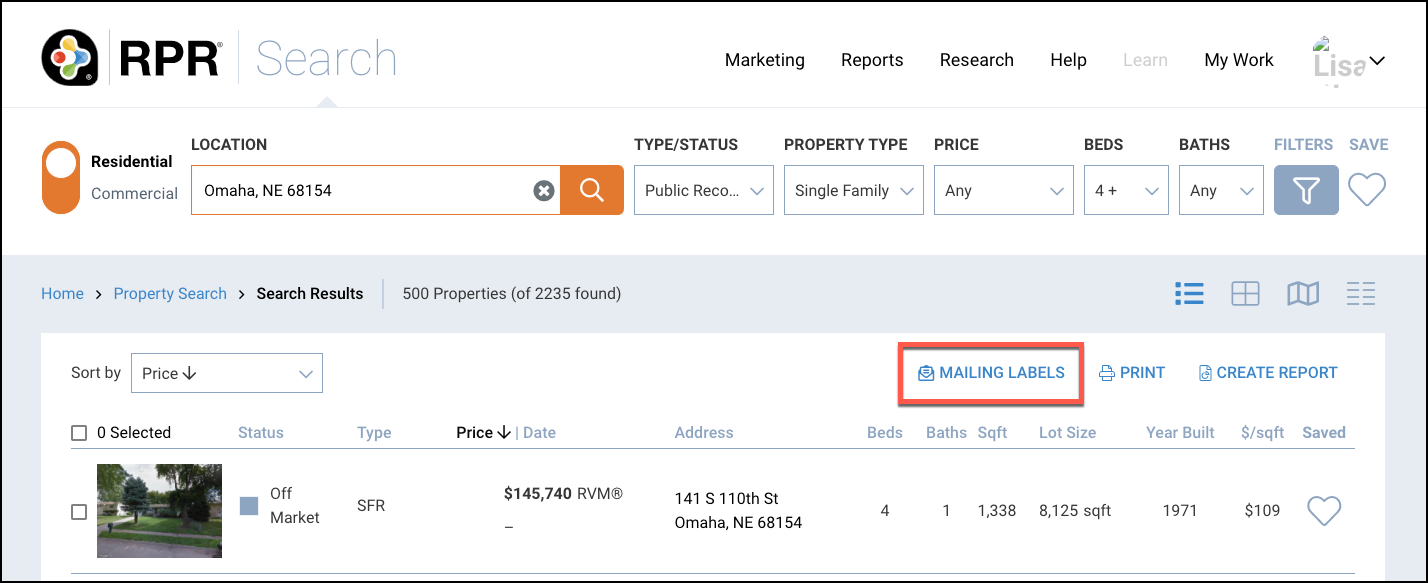
MAILING LABELS link
Once the search results appear, click on the MAILING LABELS link.

Step 2
Create Labels or CSV File
Make selections in each of the sections within the form (Layout, Customize, Filters)
Layout
PDF: Select if you would like to print mailing labels, then choose an Avery format (Avery 5160 – 30/sheet, Avery 5161 – 20/sheet, or Avery 5162 – 14/sheet).
CSV: Select If you would like to export owner information to a CSV file that can be downloaded to your computer.

Customize
Address Type: Choose Property or Tax Billing. Select Property if you would like to print the property address. Select Tax Billing if you would like to print the address used by the county for property tax billing purposes (typically, the owner’s mailing address).
Addressed To: Skip this step if downloading as a CSV file (owner name will be the default). If creating mailing labels, choose what you would like to appear on the first line of the mailing label. Choices are Owner Name, Owner Name and/or “Current Resident,” “Current Resident,” or Custom Name (e.g. “My Highland Park Neighbors”). The Example Mailing Label box will show how each choice will appear.

Filters
Occupancy Type: Choose All, Owner Occupied, or Absentee Owner. Select “Exclude Listed Properties” if you would like to exclude properties with statuses in RPR of Active, Active Under Contract, Pending, Hold, or Withdrawn.
“Exclude Properties on Do Not Mail List” is a default setting. Deselect if you would like to include those records in your CSV file. The CSV file will include a column headed “On Do Not Mail” with a result of Y or N.
“Exclude Properties with Incomplete Addresses” is also a default setting. This prevents the printing of unusable mailing labels.
Records to Export: Choose All or From. If From is selected, enter a range in the boxes provided that represent the numerical order of your search results sort order. For instance, if you would like to print the first 100 property addresses, you would enter 1 to 100.

Step 3
Check Export Status and Print
Set your printer setting for Page Sizing and Handling to “Actual Size” This setting will ensure that the information is printed within the label.
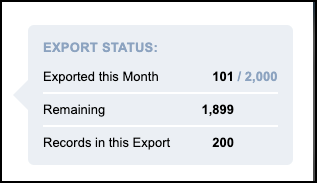
Review the information in the Export Status box to verify how many records are in this export and how many Remaining records you can export this month. If everything meets your expectations, click the Print button.

Click on the links below
Troubleshooting
Click the links below
Need Help?
If you need additional assistance, contact RPR Member Support at (877) 977-7576 or open a Live Chat from any page of the website.


