What is the Seller’s Report?
The Seller’s Report is an ideal listing presentation. It contains detailed property information for a specific property, including an estimated value, local market statistics, recommended pricing strategy, seller’s proceeds worksheet, and recent market activity within the subject property zip code.
New! - RPR Next Gen Reports
Step-by-Step Instructions
Click on the tabs below to see step-by-step instructions.
Step 1
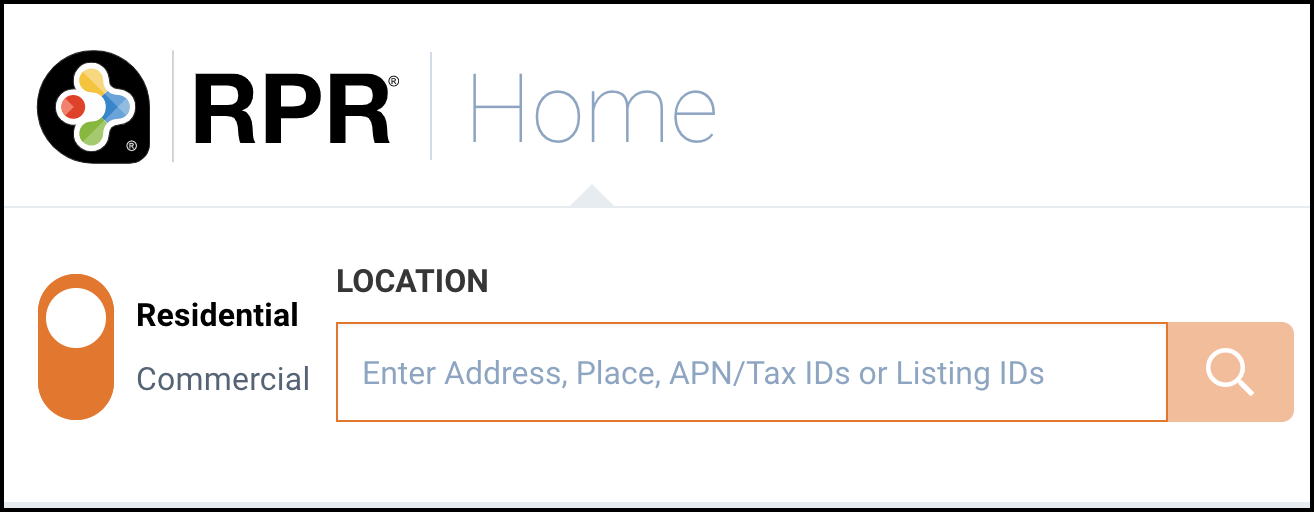
Begin on Home page
Go to Home and enter a specific property address in the search bar. Or enter an area and select a property from your search results.
Refine Value or Add CMA
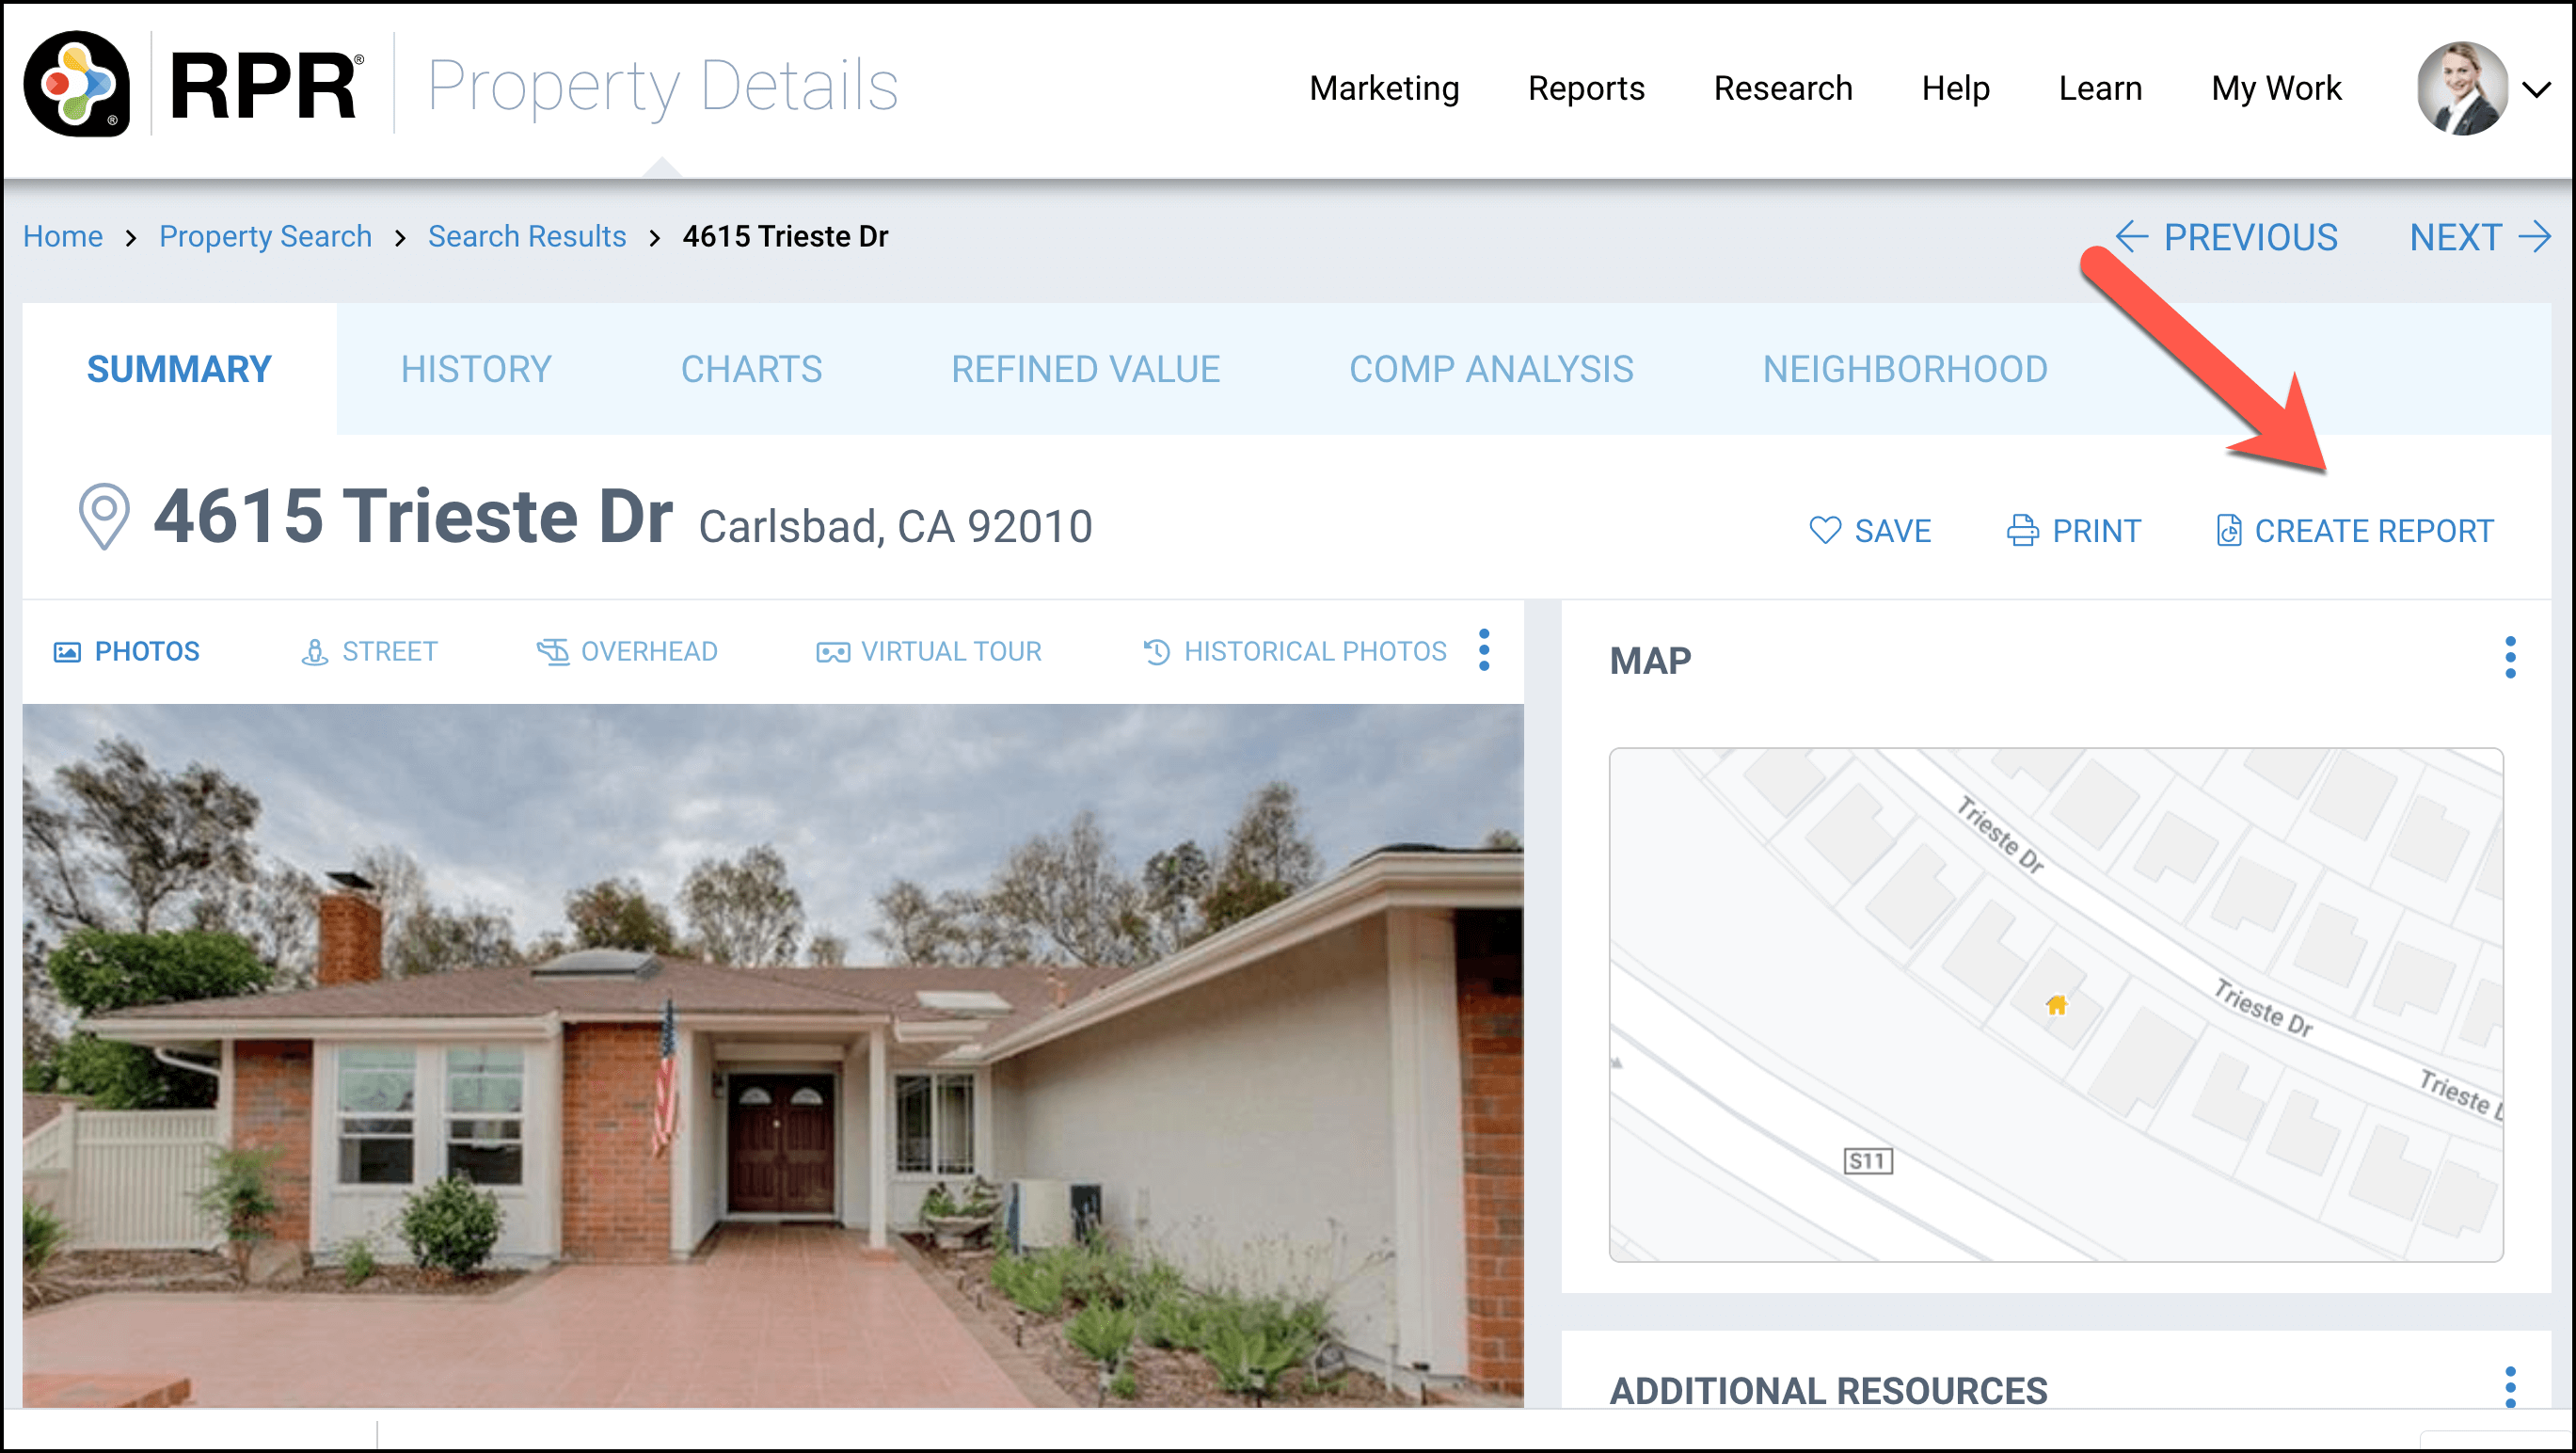
On the Property Details Summary page, you can choose to refine the value or create a CMA and include it in your Property Report. Click CREATE REPORT when you are ready to generate your report.
Step 2
Select Report and Customize
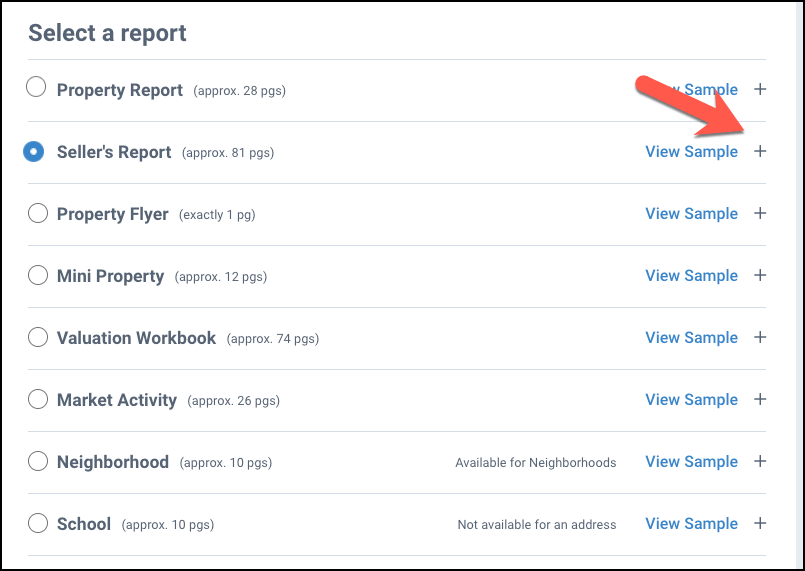
Select Seller’s Report, then click the plus sign to the right of the report name to choose the content you would like in your report.

Choose Content
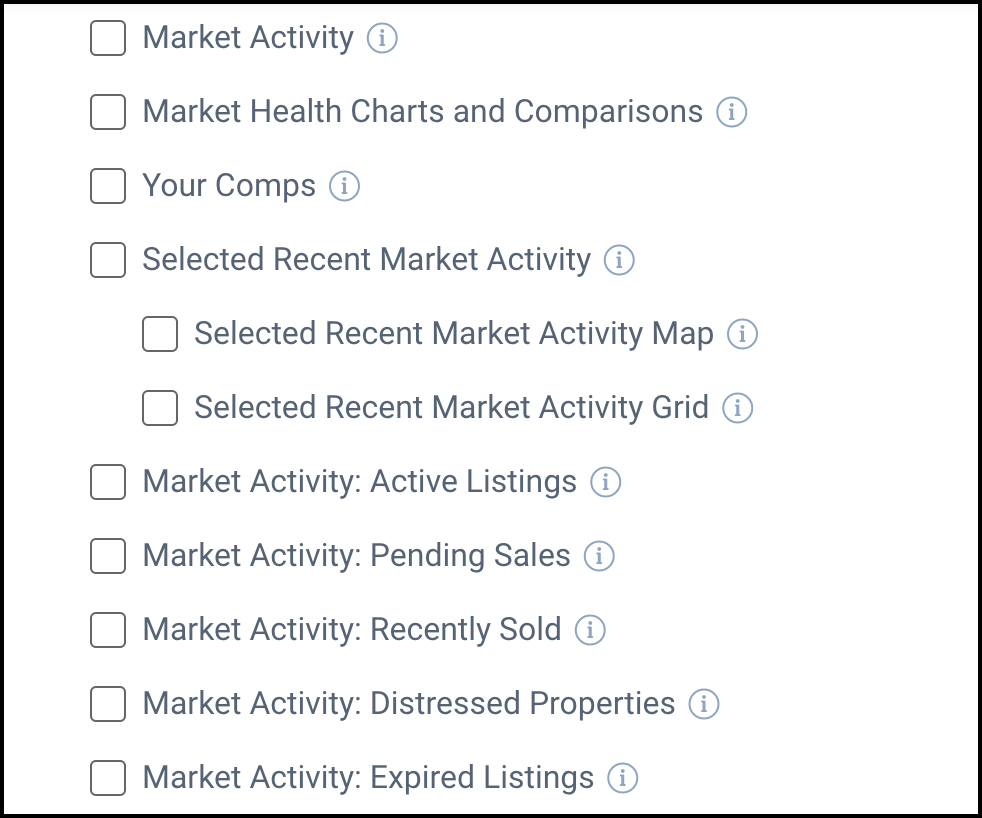
Put a checkmark next to the item you would like to include in your report. Take the checkmark out if you want to omit the item. Hover your cursor over each information i to see a description of the item.
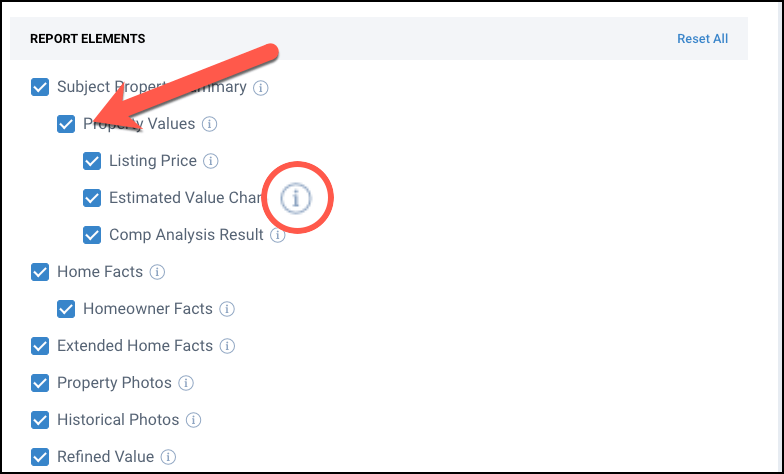
To suppress an estimated value or refined value, scroll down to the bottom of the content list and put a checkmark in the box next to the description.

Step 3
Personalize Report
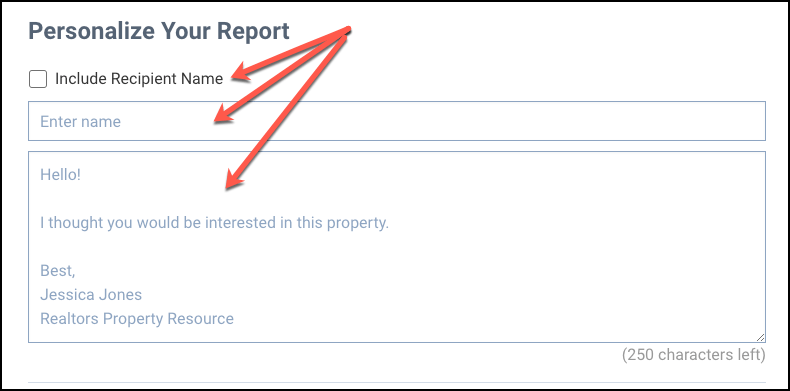
You can include a short message when emailing a report to your client. Skip this step if you do not want to personalize your report in this way.
Add your Own Pages and Customize Cover
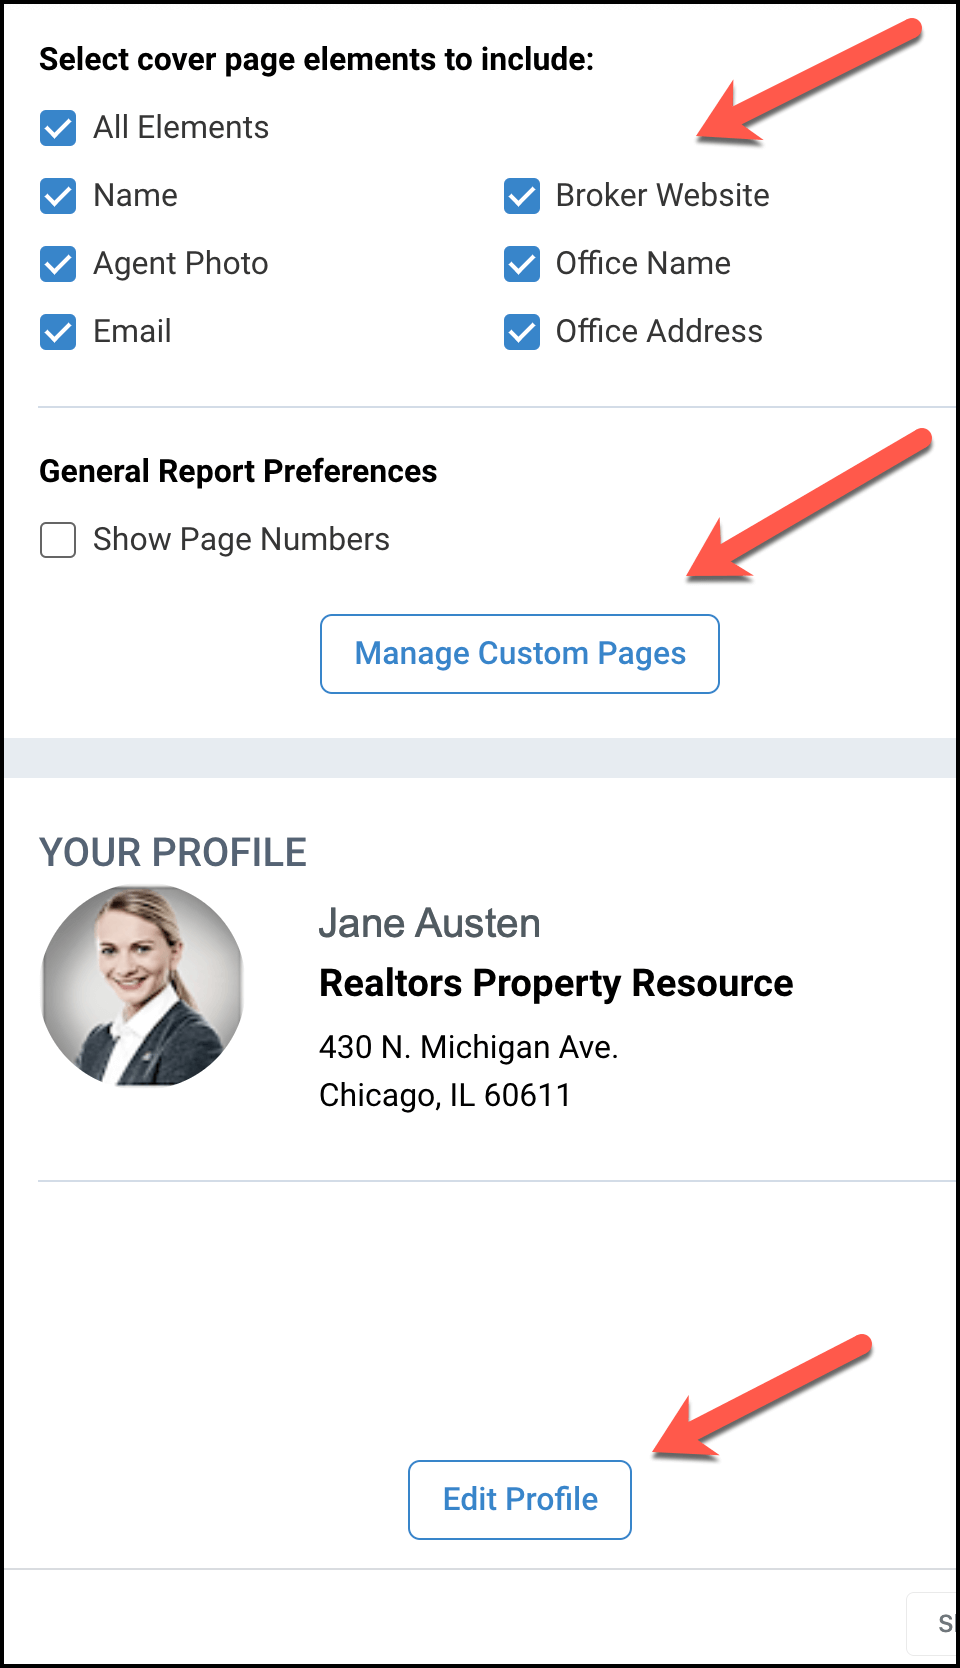
On the right side of the Report page, select the elements that you would like to appear on your report cover. This information is pulled from your Profile. If you would like to make changes, click the Edit Profile button.
Click the Manage Custom Pages button to add your own content to your report. To learn more about adding your own pages to a report, click here.
Choose Delivery Method & Run Report
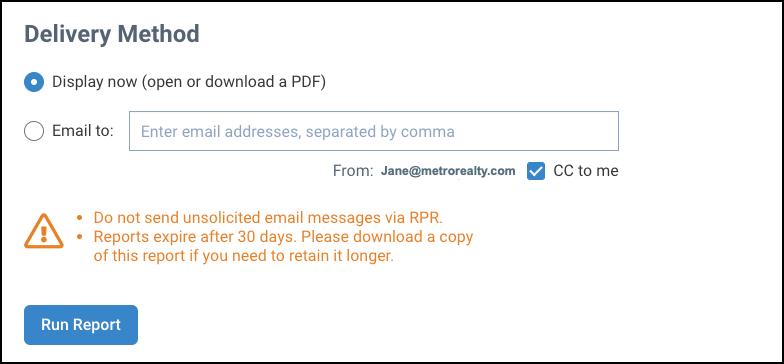
Choose either Display Now or Email to. Display now will open a PDF that can be saved to your computer. Email to will email a PDF to one or multiple email addresses (separate multiple email addresses with a comma). Click CC to me to receive a copy in your email inbox.
Click the Run Report button.
Learn More about RPR Reports
Frequently Asked Questions
Click on the links below
Need Help?
If you need additional assistance, contact RPR Member Support at (877) 977-7576 or open a Live Chat from any page of the website.
