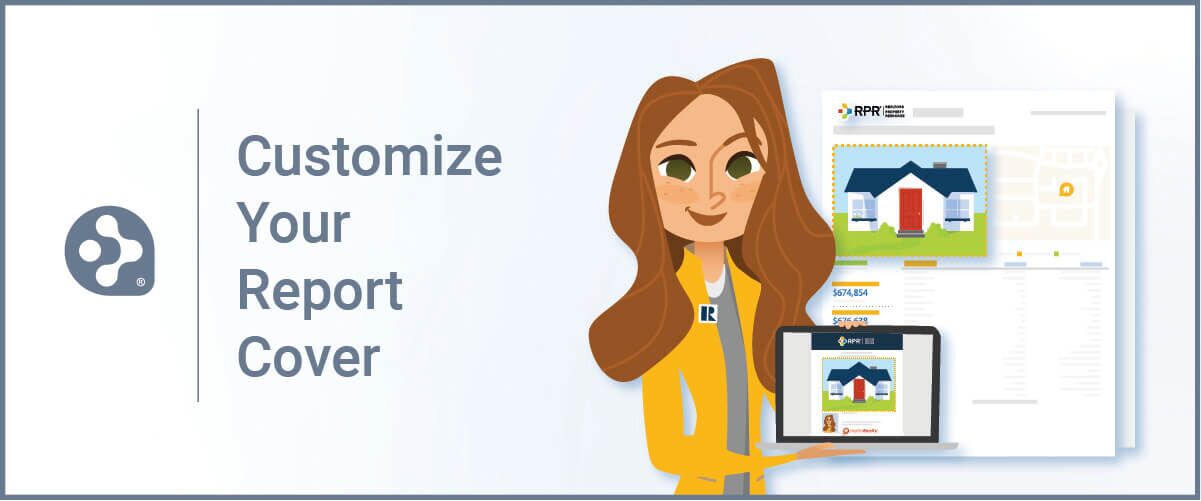
Customize your RPR report cover photo with these simple steps

It’s often said that, “You only get one chance to make a first impression.” That couldn’t be more true than in the real estate industry. So when you find yourself sharing a report with a less than flattering cover photo, take a moment to update it. The process is quick and simple, and can be done from the website or mobile app. RPR makes it easy to do so, here’s how.
- Locate the digital photo you would like to use on your report cover
- Login to narrpr.com and search for a subject property
- Now to upload the new photo. The steps are different depending on whether you are using the RPR website or app:
From the RPR Website
- On the RPR property details page, scroll down to the My Update section on the right side of screen. Click on the Photos tab.
- Select Add Photos
- Select the photos you want to upload from your computer
- select Use for Report Cover
- Choose Save
In the RPR app
- On the RPR property details page, tap Notes
- Next tap Add a Photo
- You’ll have two choices: Take a Photo, or Select from Album.
- Choose Edit
- Tap on the Report Cover option
- Lastly, choose Update to save
- Now onto creating your report. The process is similar on the website and mobile app. You’ll either select the Get a Report button or Add a Report. Then select a report, such as the Mini-Property, Property or Seller’s Report
- Choose which elements to include in the report by clicking “+”
- Follow the steps to create a report
Congrats! Your report will now feature the newly uploaded cover photo image.
Share This Story, Choose Your Platform!
One Comment
Leave A Comment
TOPICS
AUDIENCE
CATEGORIES
TUTORIALS & GUIDES
SUCCESS STORIES
PROSPECTING
THE PODCAST

Thanks for sharing this amazing post.